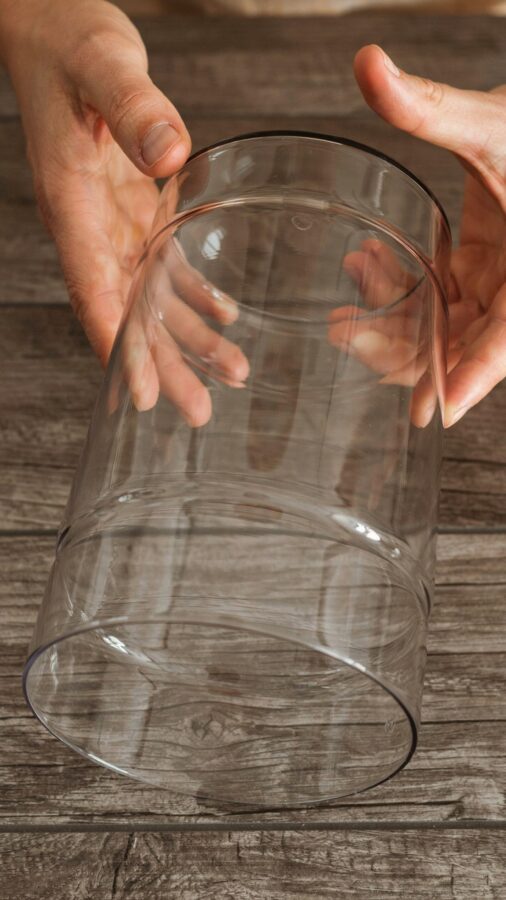
You want a stylish vase for your living room without shelling out forty bucks at a home goods store. I get it. That is exactly why Budget DIY Vase Decor sounds like the perfect weekend project. But here is the honest truth: most people mess it up the first time. They grab an old wine bottle, slap on some craft paint, end up with a drippy mess, and wonder why their living room still looks cheap instead of chic. I have made every single one of these mistakes. So let me save you the frustration. This is a common-mistakes-and-how-to-avoid-them guide. I will walk you through the pitfalls so you actually end up with a vase that looks intentional, not like a kindergarten project.
Mistake #1: Grabbing Any Random Bottle Shape
Not every bottle deserves a second life as a vase. A squat pickle jar or a weirdly tapered soda bottle usually looks awkward with flowers in it. The shape of your base determines whether your arrangement will stand tall or flop over.
Stick with bottles that have a narrow neck and a wider belly. Think classic wine bottles, balsamic vinegar bottles, or square-shaped liquor bottles. The narrow neck keeps stems bundled together nicely, and the wider belly gives the whole thing a grounded look. Avoid bottles with extreme curves that wobble when you set them down. Test the balance before you start decorating.
Mistake #2: Skipping the Deep Clean and Prep
Here is the most boring but vital step. A greasy label residue or sticky glue will ruin your paint job guaranteed. I learned this the hard way when my “chalk paint” peeled off in sheets because I only rinsed with water.
To get it right, soak the bottle in hot soapy water for 15 minutes. Peel off the label. If glue remains, rub it with cooking oil or a dedicated adhesive remover then wash again. After that, wipe the entire surface with rubbing alcohol on a cotton ball. This removes any oils from your fingers. Your paint needs a perfectly clean canvas. No shortcuts.
Mistake #3: Using the Wrong Paint or Finish
Craft acrylics straight from a dollar store tube look chalky and scratch off easily. Spray paint designed for plastic also tends to bubble on glass. And do not start me on using leftover wall paint. That stuff takes forever to cure and chips the second a stem touches it.
The smart move is to choose a paint specifically made for glass and tile. Look for brands like FolkArt Enamel or Krylon Glass Paint. If you want a matte finish without spray paint, use a multi-surface acrylic and apply it in thin, even coats. Two thin coats beat one thick, gloppy coat every time. Let each coat dry fully (at least 2 hours) before adding the next.
Mistake #4: Not Thinking About Proportions Before You Start
You painted a gorgeous green bottle. Then you shove a bunch of dried eucalyptus in it and it looks top-heavy and weird. Or you fill it with too few stems and the whole vase looks lonely.
Before you decorate, hold your bottle next to the flowers you plan to use. A good rule: the height of the arrangement should be about 1.5 to 2 times the height of the vase. For example, a 10 inch tall bottle needs stems around 15 to 20 inches tall. If you use twigs or branches, they can go taller. Also think about the opening width. Wide openings need a lot of stems to look full, while narrow necks work with just three blooms.
- Narrow neck: 3 to 5 stems, keep it minimalist.
- Medium neck (like a wine bottle): 7 to 10 stems, good for a loose bouquet.
- Wide mouth: 15+ stems or use floral tape to create a grid.
Mistake #5: Overcomplicating the Decoration
I see so many tutorials that tell you to glue on sequins, wrap rope around the neck, and then add a gold leaf rim. The result is a cluttered mess that looks like a preteen craft project. A
#BudgetHomeDecor #DIYVase #CheapDecorHacks #HomeDecorDIY #BudgetDIY
Leave a Comment