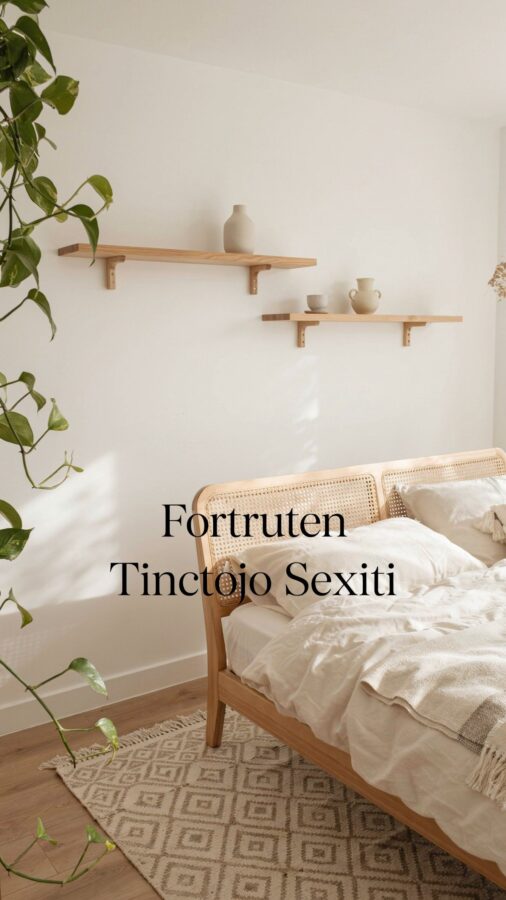
If you have ever tried to install a DIY floating shelf and ended up with a crooked, wobbly, or just plain ugly result, you are not alone. I have been there myself. After building dozens of shelves for my own home and for friends, I have learned that most shelf failures come down to a handful of very predictable mistakes. This DIY floating shelf tutorial is written as a common-mistakes-and-how-to-avoid-them guide, so you can skip the frustration and get the clean, modern look you want without wasting time or money. Whether you are planning a budget room makeover or just want a quick weekend project, these tips will save you headaches.
Choosing the wrong materials for floating shelves
One of the biggest blunders I see beginners make is using cheap particleboard or hollow-core lumber from a big box store. It looks fine in the aisle, but after a few months it sags or chips at the edges. For a BudgetHomeDecor project that actually lasts, go with solid wood like pine, poplar, or even plywood with a good hardwood veneer. Avoid MDF unless you seal all cut edges with primer and paint, because moisture in a bathroom or kitchen will make it swell. Another mistake: picking boards that are too thin for the load. A shelf that is less than ¾ inch thick can bow under the weight of books or decor. Stick with 1-inch thick lumber for a clean, sturdy look that does not need extra brackets.
Skipping the mounting bracket plan
Many tutorials skip over the hardware details, but this is where most projects go wrong. Floating shelves rely on hidden metal brackets that slide into a hollowed-out slot or sit inside a drilled hole in the wall. If you buy generic brackets without checking the depth of your shelf, you might end up with a bracket that is too long and sticks out, or too short and wobbles. Measure the shelf depth first, then choose brackets that are at least ⅔ of that length. Also, never assume drywall can hold a heavy shelf. You need to locate studs or use toggle bolts rated for the weight. For a RoomMakeover that will stay put, mark your studs with a stud finder and double-check with a small nail before drilling.
Cutting corners on measuring and leveling
I once rushed a set of shelves for my living room and ended up with a gap between the shelf and the wall wide enough to see the bracket. That is the kind of mistake that makes a whole wall look sloppy. The secret is to measure twice and cut once, but also to check the wall itself. Most walls are not perfectly flat, so even if your shelf is cut square, it may sit uneven. To fix that, dry-fit the bracket against the wall and use a level in both directions. Then trace the bracket holes and drill pilot holes straight into the studs. If you are hanging multiple shelves, use a laser level or a long straightedge to keep the alignment consistent. Small misalignments become very obvious once the shelf is loaded with items.
Forgetting to account for the finished look
A common oversight is not planning the final appearance of the shelf before attaching it. For example, if you are painting the shelf, you should sand and prime the edges before installation, not after. Once a shelf is mounted, touching up paint near the wall can be messy. Also, the way the shelf meets the wall matters. If you want a seamless floating effect, the shelf should be cut so its back edge sits flush against the drywall. But if your wall has texture or slight bowing, a thin bead of paintable caulk along the top and bottom seam will hide gaps and give a built-in look. This extra 10-minute step makes an EasyDIY project look like professional carpentry.
Overloading the shelf on day one
After you finish building, it is tempting to pile on books, plants, and frames immediately. But hardware can settle or shift under sudden weight. Give your brackets and screws 24 hours to seat, then gradually add items. Also, think about how you distribute weight. Heavy objects should be placed near the brackets (where the support is strongest), not in the middle of a long unsupported span. For a shelf longer than 36 inches, consider using three brackets instead of two. I learned this the hard way when a shelf full of hardcover novels started sagging in the center after a month. Now I always plan bracket placement based on what I intend to display.
Ignoring wall type and anchoring
Different walls need different anchors. If you are drilling into concrete, brick, or tile, you need a masonry bit and plastic anchors or screw anchors designed for that material. If you have old plaster walls, standard toggle bolts can crack the plaster; use snap toggles or molly bolts instead. For drywall alone (without a stud), never rely on cheap plastic expansion anchors for a shelf that will hold anything heavier than a picture frame. Instead, use heavy-duty hollow wall anchors or toggle bolts rated for at least 50 pounds per shelf. This is one area where you should not cut corners to save a dollar, because a fallen shelf can damage your floor or injure someone. A little extra effort makes your HomeDecorIdea safe and permanent.
Practical checklist for your next floating shelf project
- Use solid wood or high-quality plywood at least ¾ inch thick.
- Pick hidden brackets that match your shelf depth and weight needs.
- Find studs with a stud finder and mark them clearly.
- Level both the bracket and the shelf in two directions.
- Sand and paint shelves before mounting, then caulk edges after.
- Wait 24 hours before loading, and place heavy items near supports.
- Use proper anchors for your wall type, never skip this step.
Now that you know the most common pitfalls, you can tackle your DIYFloatingShelf project with confidence. The difference between a shelf that looks amateur and one that looks custom is often just a few small details. Take your time with measuring, pick the right materials, and secure everything to the wall correctly. You will end up with storage that looks like it cost twice as much and lasts for years. If you
#DIYFloatingShelf #BudgetHomeDecor #RoomMakeover #EasyDIY #HomeDecorIdea
Leave a Comment