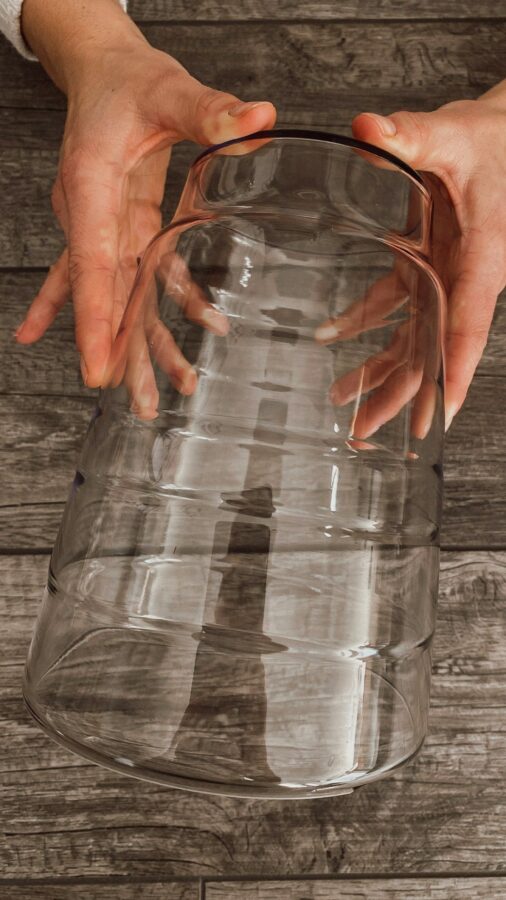
How This Budget Home Decor DIY Vase Hack Started
I moved into a small apartment last year with one glaring problem: empty corners. Every room had a cold, bare spot that made the space feel unfinished. But I was on a strict budget and didn’t want to drop forty dollars on a single decor piece. That’s when I stumbled on what I now call my budget home decor DIY vase hack. I walked into a thrift store with five dollars and walked out with three ugly vases that I turned into something elegant in under an hour. This cheap decor idea for empty corners has saved my living room, my bedside table, and my wallet.
I’m not a professional crafter. I’m just someone who wanted a cozy home without the high price tag. What I found is that you don’t need talent or expensive supplies. You just need a thrift store, a little paint, and twenty minutes. Let me show you how this DIY vase project actually worked for me.
Cheap Home Decor DIY: Finding the Right Base
The key to a successful cheap home decor DIY is the vase itself. I learned to look for shapes, not colors. A weird avocado green vase from the 1970s can become a modern statement piece once you change its finish. I focus on glass or ceramic vases with interesting silhouettes: slim cylinder, wide belly, or a gentle hourglass. Avoid anything chipped or cracked unless you plan to cover it completely.
My best find was a heavy ceramic pitcher with a faded floral pattern. I paid three dollars. Its shape reminded me of a high-end designer vase I had seen in a catalog for eighty dollars. All I needed was a coat of paint and a trick to hide the old pattern. That’s when this simple project turned into a real budget decor win.
Here’s what I look for every time I thrift for a DIY vase:
- Smooth surfaces that paint will stick to easily
- Unique shapes that catch your eye (think teardrop, taper, or urn)
- Sturdy base that won’t tip over with a few stems inside
- Nothing larger than 12 inches tall (fits bedside tables and corner shelves better)
DIY Vase Tutorial: Supplies I Already Had
You don’t need to buy a craft store haul. For my DIY vase tutorial, I used supplies I had at home. A can of matte spray paint in cream (left over from a lamp project), a roll of painter’s tape, and a small bottle of acrylic craft paint in a muted sage green. If you don’t have spray paint, a foam brush and a small jar of chalk paint works just as well. Total additional cost: zero dollars.
For the thrift store vase hack, I also grabbed a piece of old lace doily from my grandmother’s stash. I used it as a stencil to create a subtle pattern on the base of the vase. If you don’t have lace, a paper towel with a cut-out shape or even a leaf from the yard can work as a stencil. The point is to use what you have.
Budget Decor Ideas for Empty Corners: Step by Step
Here is exactly how I turned that thrifted pitcher into a corner accent piece. First, I cleaned the vase with soap and water to remove dust and sticker residue. Then I dried it completely. Next, I put painter’s tape over the rim and the bottom edge to keep the original ceramic color there. I wanted a two-tone look that feels intentional.
After taping, I sprayed the vase with two thin coats of cream spray paint, waiting fifteen minutes between coats. Once dry, I peeled off the tape and was left with a clean white body and raw ceramic rim. To add detail, I used a small sponge to dab sage green acrylic paint over the lace doily pressed against the lower half. It created a delicate leaf-like
#budgethome #diyvase #cheaphomedecor #budgetdecor #diytutorial
Leave a Comment