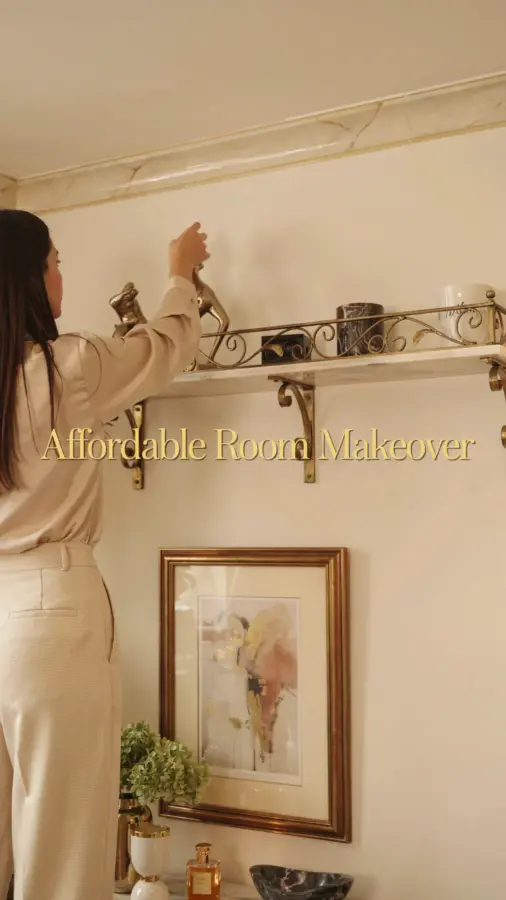
Why a Mini Balcony Shelf Makes Sense Right Now
Look, I saw this budget mini balcony shelf DIY on Instagram and had to try it myself. It’s a quick way to add surface space to a small apartment balcony without spending much. Spring is here, and everyone’s trying to make their outdoor nook feel like an extension of the living room. But balconies are tricky. They’re often narrow, awkward, and you can’t just drop a table there. My own balcony is barely 3 feet wide. I could fit a chair and that’s it. No room for a drink, a book, or my little succulent collection. This shelf changed all that. Ok so it’s not fancy. But honestly, it works.
And here’s the thing: it’s not some weekend-long project that requires a workshop. You don’t need a drill if you don’t have one. I built mine with a hammer and a measuring tape. Took maybe twenty-five minutes. Not gonna lie, I messed up the first try and had to re-cut a piece. Still under half an hour total.
Supplies You Probably Already Have for This quickdiy
You want a project that feels like a win, not a headache. For this quickdiy, I used stuff from around the house or bought for under $10. Here’s what I grabbed:
- A wooden shelf board, any size that fits your railing. I used an old pine shelf from a broken bookcase. Free.
- Two strong L-brackets. Got mine at the hardware store for $1.50 each. Metal, not plastic.
- Small screws and wall anchors (if your railing is concrete, you’ll need anchors).
- A hand saw or a cheap hacksaw. I used a serrated kitchen knife once. Do not recommend, but it works in a pinch.
- A pencil, a level, and a measuring tape. Also a screwdriver, but honestly you can use a coin for some screws.
That’s it. Seriously. If you don’t have a shelf board lying around, a 2×8 from the lumber store cut to length costs maybe $4. So the whole thing can be under $10. For a balcony shelf that holds plants, coffee mugs, and your phone. Not bad.
Step-by-Step: Building Your Mini Balcony Shelf in Under 30 Minutes
I’m not going to overcomplicate this. Measure the width of your balcony railings, then cut your board an inch shorter on each side so it doesn’t scrape the walls. Ok so my railings were 28 inches apart. I cut my board to 26 inches. Then I attached the L-brackets to the underside of the board, about 2 inches from each end. Pro tip: pre-drill holes for the screws to avoid splitting the wood. I didn’t and my board cracked a little. Still works, but it’s ugly.
Next, hold the shelf against the railing at the height you want. Mark where the brackets hit the railing. Then screw the brackets into the railing. If you have a metal railing, you might need small clamps or zip ties instead of screws. My railing is wooden, so screws went in fine. Level it before you tighten everything. I skipped that step and now my shelf tilts slightly. All my pots slide to the left. Annoying, but fixable later.
And that’s the whole build. Attach brackets to board, attach board to railing. Fifteen minutes of work. The rest of the time was me hunting for the right screwdriver.
Customizing Your Shelf for Smallspacesolutions
This is where it gets fun. My balcony gets direct afternoon sun, so I needed a shelf that wouldn’t warp or fade. I painted my board with leftover exterior paint from a neighbor’s deck project. Color? A muted sage green. Because why not. You could use stain, varnish, or just leave it raw and let it weather naturally. For smallspacesolutions, think about what you’ll store on it. I keep a tiny watering can, a candle, and three succulents. Someone else might want a spot for their morning espresso and a book. The shelf is only about 8 inches deep, so don’t expect to host dinner on it. But for a phone, a drink, and a small plant? Perfect.
Also consider adding a lip or a small edge to prevent things from blowing off in the wind. I glued a thin wooden strip to the front. Looks a bit homemade, but I like that. It adds character.
Affordableroommakeover: How a $10 Shelf Changes Everything
I know “affordableroommakeover” sounds like a buzzword, but honestly, this tiny shelf transformed my balcony. Before, I had a sad empty space with a dead plant and a pile of shoes. Now it feels like a real spot. I sit out there with coffee in the morning and my phone propped up on the shelf watching the birds. It’s not a huge change. It’s one shelf. But that one shelf makes the whole balcony feel intentional. Like I actually decorated it.
And it cost less than a takeout lunch. So if you’re on a tight budget but want a refresh, this is the project. No furniture hauling, no assembly required beyond this simple step. Just a shelf. It’s the kind of mini upgrade that makes you smile every time you see it.
I’ll admit, I originally wanted a wrought-iron tiered stand. Those cost $40 and up. And they’re heavy. And they rust. This budget shelf is lighter, cheaper, and I can remove it in ten seconds if the landlord complains. Which, by the way, they probably won’t, because it’s not bolted into the structure. Just clamped to the railing.
Pro Tips for a Stable, Weather-Resistant Shelf
You want this thing to hold up through rain and wind, not collapse and send your ficus to the street. Use outdoor-grade screws if you can. Indoor ones will rust and snap. Also, seal the wood with at least a coat of varnish or exterior paint. My paint job was sloppy, but it’s been two months and no warping. If you live in a very humid area, consider using cedar or pressure-treated wood. Or a plastic composite board, which won’t rot but looks a bit fake. Your call.
Another tip: make sure the brackets are positioned so the shelf sits flush against the railing. If there’s a gap, things can fall through. I stuck a thin piece of rubber gasket between the bracket and the railing to prevent slipping. It’s a weird hack. But it works. And if you have a cat like mine, make sure the shelf is high enough that they can’t jump on it and knock everything off. Speaking from experience. My cat is a jerk.
Final Touches: Styling Your Mini Balcony Shelf
Once it’s up, don’t just throw random junk on it. Style it like you would a real shelf indoors. A small trailing plant, a string of pearls or ivy, looks amazing draped over the edge. Add a tiny lantern or a candle. Maybe a rock or shell from a beach trip. Keep it minimal. One or two items maximum, because the shelf is small and you don’t want it cluttered. I put a tiny Buddha statue on mine. My friend put a shot glass. No judgment.
Oh, and here’s a weird personal detail: I use a chopstick to push dirt into the crevices between the shelf and the railing. Keeps dust from building up. Weird, specific, but you’ll thank me later. Anyway, the point is: this is a 30-minute project that will make your tiny balcony feel like a real room. And you did it yourself. That feels good.
So go ahead, grab a board and some brackets. Your balcony is waiting. And if you post it on Instagram, tag me because I want to see your version. That’s the only call to action I’ve got. Happy building.
#minibalconyshelf #budgetdiy #smallspacesolutions #affordableroommakeover #quickdiy
Leave a Comment