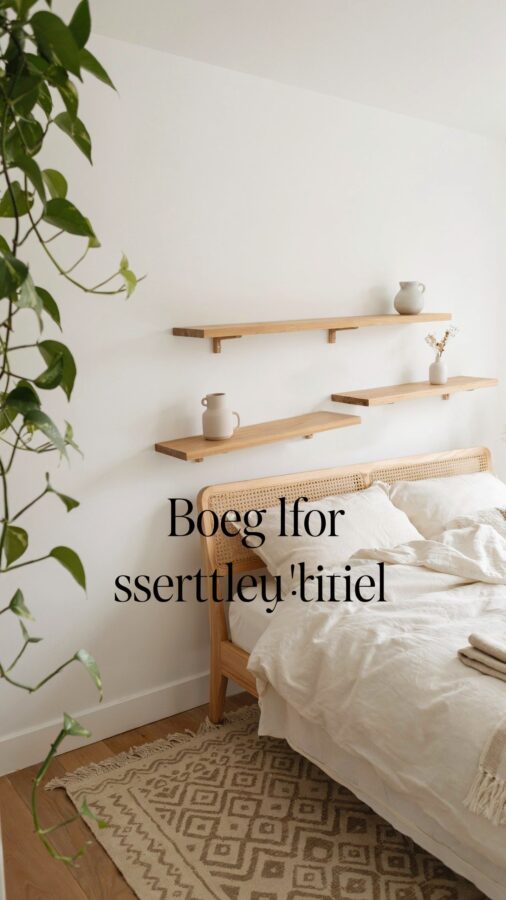
I don’t know about you, but every time spring rolls around I get the itch to change up my bedroom. The problem is that my budget rarely matches my dream Pinterest board. That’s exactly why I decided to tackle a DIY floating shelf tutorial this year. It cost me less than $20 and completely transformed one bare wall into a stylish little reading nook. If you’re looking for a quick weekend project that delivers big results without the big price tag, this one is for you.
Why This DIY Floating Shelf Fits Your Bedroom Makeover
Floating shelves are having a serious moment right now, and for good reason. They add storage without taking up floor space, which is a lifesaver in a small bedroom. A bedroom makeover doesn’t have to mean new furniture or expensive art. Sometimes all you need is a way to display your favorite things and get a few stacks of books off the nightstand.
I chose a simple wood design because it feels warm and natural. You can stain it dark for a cozy vibe or paint it white to match a minimal aesthetic. Either way, it works with almost any decor style. Plus, you get that floating illusion that makes the shelf look like it’s part of the wall.
Gathering Materials for an Affordable Room Makeover
The best part about this project is how little you need. Most of the supplies you can find at your local hardware store for under $15 total. Here is exactly what I used for a shelf that is 36 inches long and 6 inches deep:
- One 1×4 pine board (cut to 36 inches at the store)
- Two 1×2 pine boards (cut to 36 inches each)
- Wood glue
- 1 ¼ inch wood screws
- Two L brackets (heavy duty, about 4 inch size)
- Level, stud finder, drill, and sandpaper
- Paint or stain of your choice
That list covers everything you need for a solid affordable room makeover. I already had the drill and level, so my actual cash outlay was around $13. Not bad for a shelf that looks custom built.
Simple Steps for Your DIY Floating Shelf Project
This DIY floating shelf is beginner friendly. Even if you have never drilled into a wall before, you can handle this. Here is how I did it in about two hours.
First, sand all the wood pieces until they are smooth. Pine has a tendency to splinter, so take your time. Then apply your paint or stain. I used a dark walnut stain because my bedroom has a lot of light wood already, and I wanted some contrast. Let the finish dry completely before moving on.
Next, attach the 1×2 boards to the back of the 1×4 board using wood glue and screws. The 1×2 pieces act as a cleat that will hide the brackets later. Position them so they are flush with the top and bottom edges of the 1×4. This creates a box shape when viewed from the side.
Now for the wall part. Use a stud finder to locate studs in your wall. Mark two spots, spaced about 16 inches apart, and screw your L brackets into the studs. Make sure the brackets are level. Then simply slide your shelf piece onto the brackets. The cleats on the back should cover the brackets completely. Secure with screws from below if needed. I didn’t bother because the fit was snug enough.
Budget Home Decor Tips for Styling Your Shelves
Once the shelf is up, the fun begins. Budget home decor is all about using what you already own in a fresh way. I raided my bookshelf and pulled out a few paperbacks with nice covers. Then I added a small succulent in a terra cotta pot and a framed photo I already had.
Here are a few styling rules I follow to keep it from looking cluttered:
Group items in odd numbers. Three
#DIYFloatingShelf #BudgetHomeDecor #BedroomMakeover #AffordableRoomMakeover #HomeDIY
Leave a Comment