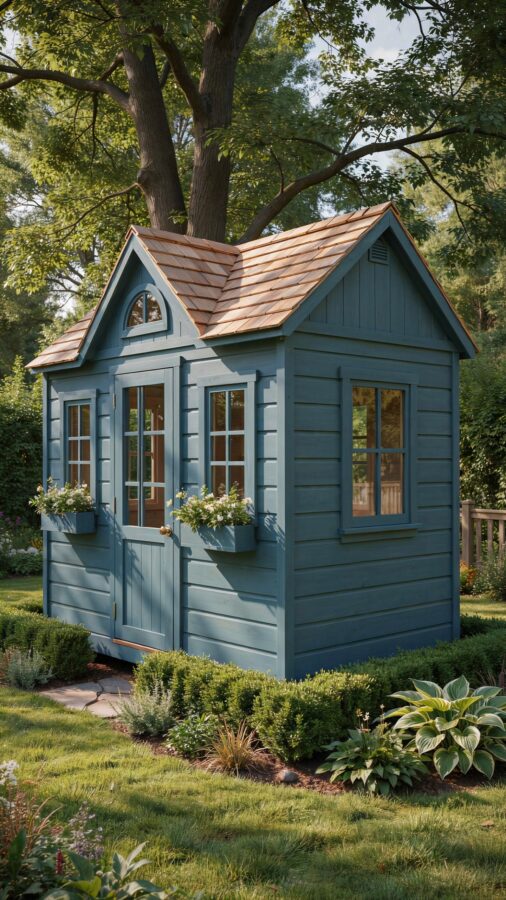
Why This 8×12 Garden Shed Changes the Game for Backyard Storage
I have spent years tripping over hoses and digging through piles of empty pots. Then I added a Palmerston 8×12 garden shed to my backyard, and honestly, the difference is night and day. This size is big enough to store everything from a lawnmower to seed trays, but small enough to fit into a corner without swallowing the whole yard. The real magic, however, is not in the wood or the dimensions. It is in how you set up the inside. A plain shed is just a box. A custom storage shed with shelves and hooks turns that box into a real outdoor organizer. And if you place it right, it even becomes part of your garden decor.
This article walks you through the exact steps I took to turn my Palmerston shed into a clutter-free, charming workspace. No fluff, just practical moves you can copy this weekend.
Finding the Perfect Spot for Your 8×12 Shed Placement
Before you buy a single shelf bracket, you need to decide where the shed will live. The best 8×12 garden shed placement is on level ground with good drainage. If you set it in a low spot, rainwater will pool under the floor and rot the wood fast. I learned this the hard way with a previous shed.
Walk around your yard at different times of day. Look for a place that gets some sun but also some shade. Too much direct sun will bake the paint and warp the boards over time. Too much shade invites moss and dampness. Also think about how you will roll a wheelbarrow in and out. Leave at least three feet of clearance on the door side for easy access.
- Level the ground using gravel or paving stones before assembly. A slight slope away from the door helps water run off.
- Check local building codes. Some towns require permits for sheds over 100 square feet. An 8×12 is 96 square feet, so you are often safe, but double check.
- Face the door away from prevailing winds. This keeps rain from blowing inside every time you open it.
Once the base is solid, you can move to the fun part: fitting the inside with custom storage.
Custom Shelving for a Garden Shed That Actually Works
Blank wall space is wasted space. I built my own custom shelving for my garden shed using standard pine boards and metal shelf brackets from the hardware store. The key is to measure before you cut. Know the height of your tallest tool. My rake handle is about five feet long, so I left that wall empty of shelves and used hooks instead.
For smaller items like plant tags, twine, and gloves, install shelves at chest height. I made three shelves on one wall at 12 inches, 30 inches, and 48 inches off the floor. The bottom shelf holds heavy bags of potting soil. The middle shelf holds spray bottles and small pots. The top shelf stores items I use only once a season, like frost cloth or extra netting.
Make each shelf at least 10 inches deep. That fits standard gallon pots and seed trays without things falling off the back.
Hooks and Racks for Gardening Tool Organization
You can have the neatest shelves in the world, but if your shovels and hoes are leaning in a corner, they will fall over every time you grab a bag of mulch. Tool organization is where hooks save the day. I use a mix of heavy-duty single hooks and a pegboard panel on one wall for flexible gardening tool organization.
Pegboard is cheap and easy. I bought a 2×4 foot sheet, painted it white to match the shed interior, and mounted it with one inch standoffs so hooks have space behind. Now everything from pruners to trowels has a dedicated spot. For long-handled tools like rakes and forked hoes, I use horizontal tool holders (the kind with a slot and a U-shaped clamp) mounted at two heights. One near the floor for the handle, one higher for the shaft. This keeps them parallel to the wall and out of the way.
A simple rule: store items vertically when possible. Hooks, racks, and pegboard use wall space instead of floor space. Your 8×12 shed will feel twice as roomy.
Smart Pot Storage Solutions for a Garden Shed
Empty pots are the worst clutter. They never stack neatly because of the tapered shapes. I tried nested them by size, but the small ones always got stuck inside the big ones. Then I built a simple pot storage rack from scrap lumber. It is basically a grid of horizontal slats nailed between two vertical boards. Each slat holds a row of pots upside down, so air circulates and dirt falls out.
#garden #shed #backyardstorage #customshed #gardenorganization
Leave a Comment