Why Choose a No-Drill Privacy Solution for Renters and Homeowners?
If you live in a rental, you know the drill literally. Landlords often forbid permanent changes like drilling into window frames or mounting curtain rods. That is where privacy window film becomes a lifesaver. It gives you instant seclusion without a single screw or tool. Even if you own your home, the no-drill aspect saves you from patching holes later. You simply peel the backing, stick the film onto clean glass, and you are done. No measuring for brackets, no leveling, no calling in favors from a handy friend.
This makes it perfect for anyone who wants a quick weekend upgrade. The film stays put with static cling or a mild adhesive, depending on the brand. And when you move out or change your mind, it peels off without leaving sticky residue or damaging the paint. For renters especially, this is a game changer. You get the privacy of frosted glass or blinds without breaking your lease agreement.
How Privacy Window Film Creates a One-Way Mirror Effect
The magic behind privacy window film is a reflective coating that works best during daylight. When the sun is on your side of the window, people outside see their own reflection instead of you inside. Meanwhile, you can look out and enjoy the view. It is not a perfect one-way mirror after dark though. When indoor lights are on and it is dark outside, the effect reverses. So at night you might want to close your curtains or blinds.
That said, many people use this film exactly for daytime privacy. If your neighbor’s window faces yours, or your apartment is on a busy street, you get to reclaim your personal space without losing natural light. The film is also available in different tints from mirror silver to frosted patterns. For a clean, modern look, I recommend a neutral silver reflective film. It blends with most window frames and does not scream “temporary fix”.
Budget Home Decor: Cost-Effective Window Treatments That Look Expensive
Window treatments can blow your home decor budget fast. Custom blinds, plantation shutters, or designer curtains easily run into hundreds of dollars per window. Privacy window film costs a fraction of that. A single roll covering a standard window typically runs between $10 and $30. That includes enough material to cover your window with some extra for mistakes. Compare that to even basic blackout curtains at $40 per panel, and the savings are obvious.
Plus, the film adds a sleek, minimal look that works with modern farmhouse, Scandinavian, or industrial styles. You do not need to hide it behind curtains. I have used it on my own living room windows and left the film exposed. The subtle reflection adds depth and makes the room feel larger. If you want even more style, choose a decorative frosted film with geometric patterns. It acts like expensive etched glass without the cost.
Step-by-Step: Peel and Stick Application for Windows
Installing privacy window film is straightforward, but a little preparation goes a long way. Here is a quick guide based on what I have learned from doing it myself.
- Clean the glass thoroughly. Use a glass cleaner and a lint-free cloth. Any dust or grease will cause bubbles or peeling later.
- Measure and cut the film. Add about half an inch to each side so you can trim later. Use a sharp utility knife and a straightedge.
- Spray the window with a soapy water solution. This helps you slide the film into position before it sticks. A few drops of dish soap in a spray bottle work fine.
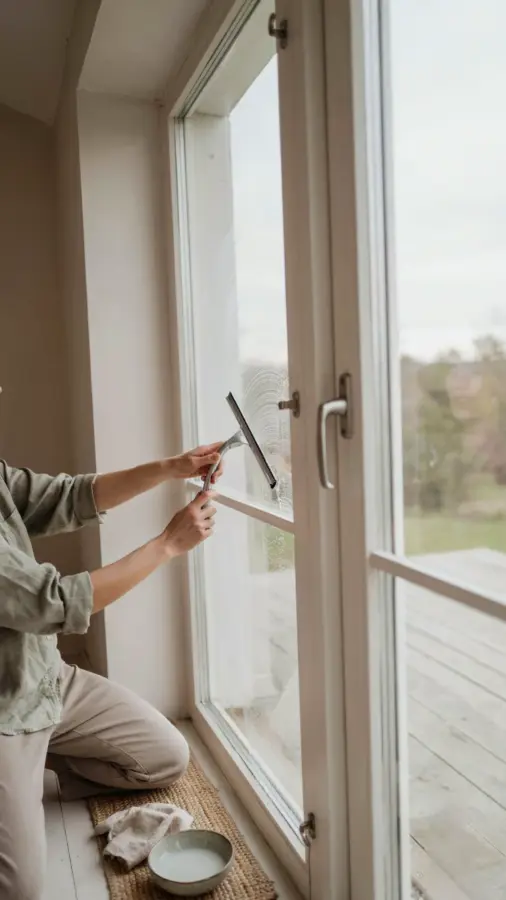
- Peel the backing and apply the film. Starting from the top, gently press the film onto the wet glass. Use a squeegee or a credit card wrapped in a cloth to push out air bubbles from the center outward.
- Trim the excess. Once the film is smooth, run a knife along the edge of the window frame to cut off the extra material.
That is it. No drilling, no clips, no special tools. The whole job takes about 15 minutes per window. If you mess up, you can peel the film off, rewet the glass, and try again. So do not stress about getting it perfect on the first try.
Where to Use Privacy Film Beyond Bathroom Windows
Most people think of bathroom windows first, and yes, this film works great there. But I have found it useful in many other spots around the house. Here are a few places where a no-drill privacy solution makes a real difference.
- Home office windows. If you work from home and your desk faces a street, the film reduces visual distractions. People outside cannot watch you type or take video calls.
- Glass front doors. A reflective film on a door sidelight or full-glass entry door keeps package thieves from seeing inside while still letting in light.
- Basement windows near ground level. These are often at eye level with passersby. Film gives you privacy
#PrivacyWindowFilm #DIYHomeDecor #BudgetHomeDecor #WindowFilm #NoDrillPrivacy
Leave a Comment